


Sorry dude.
In relevant news, everything bagels are one of my favorite kinds of bagels. I used to work at Tim Hortons back in the day in High School...is it sad that it feels like ages ago? Anyways, on my lunch break I often ate everything bagels double toasted with garden vegetable cream cheese. Now I enjoy them the same way but with smoked salmon...de-lish.
What I don't like though is how they don't sell them in a whole wheat variety...or not that I have been able to find. I tend to not be so good at making things with yeast...there's this waiting part I am not too fond of. But I decided to try tweaking an everything bagel recipe I found online by adding wheat and caramelized onions anyways...yep, I'm so wild. I love my everything bagels to be extra "onion-y", my boyfriend probably doesn't care too much for that...
He needs to start thinking onion breath is sexy is all I'm sayin...
I made little mini bagels and was quite satisfied with what I came up with. I think I probably could have waited for the dough to rise a little more but for once, it didn't seem to compromise the final product. Shawn said these were "different" but good. Not sure how to take that but that is the review I got. So if you feel brave, give these a shot. I sure like 'em!
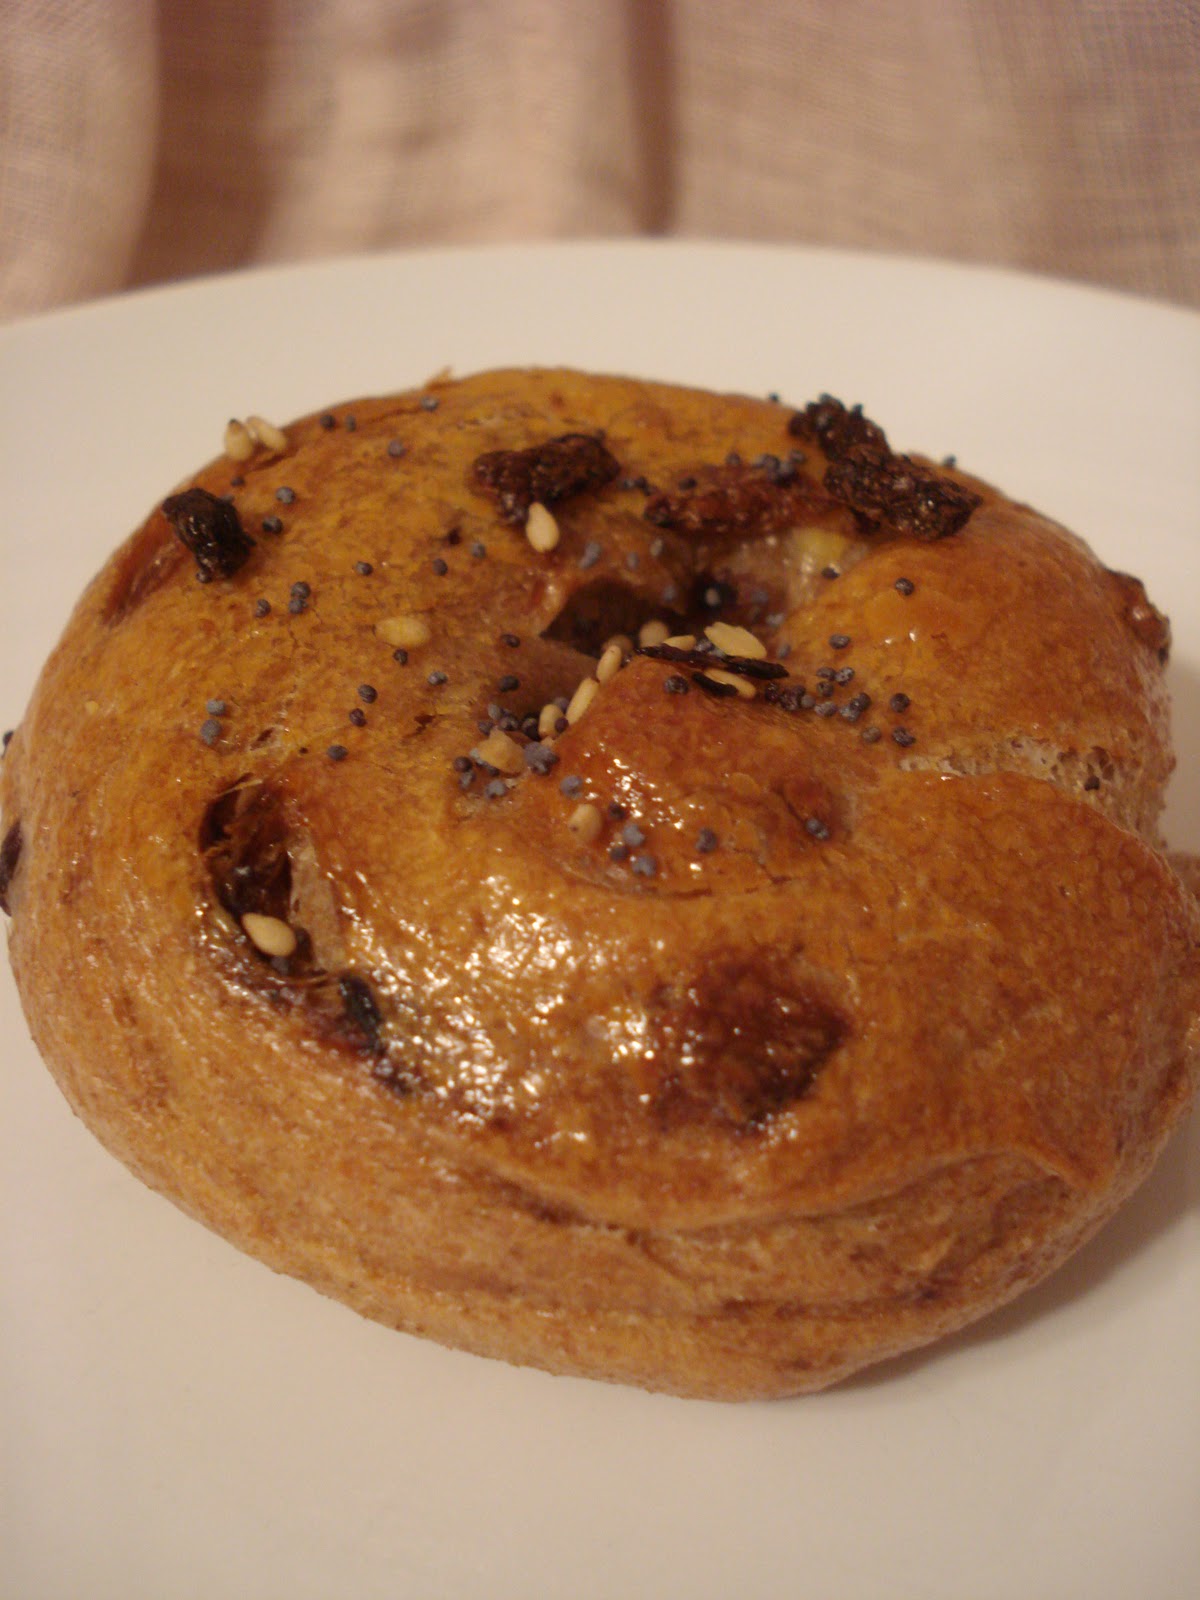
Whole Wheat Everything Bagels with Caramelized Onions
Adapted from Food.com
Makes about 8-10 mini bagels and 6 regular bagels
Ingredients:
1 medium onion, chopped
1 1/2 tablespoons olive oil
1 cup warm water
1/4 ounce active dry yeast (1/4 oz package envelope)
1 1/2 tablespoons granulated sugar
1 1/2 cups whole wheat flour, divided
1 cup all-purpose flour, divided
1 teaspoon salt
1 teaspoon canola oil, divided
1 1/2 teaspoons granulated sugar
1 tablespoon yellow cornmeal
1 egg yolk, Beaten
1/4 cup poppy seeds
1/4 cup sesame seeds
kosher salt
Directions:
Heat a large skillet on medium-high heat. After the pan has gotten hot, add the oil and allow that to heat a minute or two. Add the onions. Stir to coat all the onions in the oil. Let cook at medium-high stirring frequently until the onions start to turn brown (about 7-10 minutes) Once brown, reduce heat and cook until deep brown (about 10-15 minutes) stirring frequently. Set aside.
Combine the warm water, yeast, and the 1.5 Tablespoons of granulated sugar in a mixer with a dough hook. Let stand 5 minutes until the yeast activates and the mixture becomes foamy.
Gradually add 2 cups of the flour and the salt and mix with dough hook until combined. Once combined, add 3/4 of the carmelized onions (leave some to put on top of the bagels).
Slowly add the additional 1/2 cup flour while working with your hands. Turn onto a lightly floured surface and continue to knead until smooth and no longer sticky (add up to 1/2 cup more flour if necessary).
Grease a large bowl with 1/2 teaspoon vegetable oil and roll the dough ball to cover all sides. Cover and let rise in a warm spot for about an hour (or until almost double in size).
After an hour, punch the dough down and divide into 6 equal pieces. Roll each piece into a 6" log and combine the ends with a little moisture (make sure they are joined or you will end up with cresents).
Place the bagels on a greased cookie sheet, cover, and let rise again for 20 to 30 minutes (no longer).
Preheat oven to 400 degrees fahrenheit.
Bring a large pot of water, flavored with the 1.5 teaspoon of sugar, to a boil. Drop the bagels into the water and boil for 30 seconds to 1 minute, turning.
Upon removal from the boiling water, place the bagels onto an oiled baking sheet covered in cornmeal. Place into a preheated 400 degree fahrenheit oven.
Bake for 10 minutes. Remove and brush with an egg yolk. Top with poppy seeds, sesame seeds, caramelized onions and salt and put back into the oven for 25 to 30 minutes. After 20 minutes, turn oven down to 375 degrees fahrenheit. Remove when golden brown and hollow sounding.
Cool on a wire rack.
I like to store bagels in ziplock bags and depending on how soon I plan on eating them I store them in the refrigerator or the freezer.


.jpg)
.jpg)


